Understanding TV Mounting Installation Service
Installing a television can drastically improve your home entertainment experience, but not all of us have the DIY skills or tools to successfully mount a TV. This is where TV mounting installation service providers come in, ensuring that your TV is not only mounted securely but also positioned for optimal viewing. In this comprehensive guide, we will delve into what TV mounting installation entails, the benefits of professional services, and much more.
What is TV Mounting Installation?
TV mounting installation refers to the process of securing a television set onto a wall or other surface using brackets and mounts designed for the specific size and model of the TV. Professional installers will assess factors such as wall type, mount compatibility, and the TV’s intended viewing angle to ensure a secure and visually appealing installation.
Benefits of Professional Installation
While mounting a TV might appear straightforward, hiring a professional installer comes with several advantages:
- Expertise: Professionals have the knowledge and tools to handle various wall types, ensuring safe installation without damaging your home.
- Time-Saving: Installing a TV can be time-consuming, especially if you are unfamiliar with the process; professionals can complete the job more efficiently.
- Safety: A poorly mounted TV can fall and cause injury or damage; experts ensure that the mount is secure and stable.
- Optimal Setup: Professionals understand ergonomics and viewing angles, which can improve your viewing experience significantly.
Different Types of Mounts Available
Choosing the right mount is crucial for a successful TV mounting installation. Several types of TV mounts are available:
- Fixed Mount: These are the simplest and least expensive option, keeping the TV flush against the wall.
- Tilting Mount: This type allows for a slight upward or downward angle, which can assist in reducing glare.
- Full-Motion Mount: These mounts allow for maximum flexibility, offering articulation to adjust the TV left, right, or tilt.
- Ceiling Mount: Ideal for spaces where wall-mounting is impractical, these mounts suspend the TV from the ceiling.
Preparing for Your TV Mounting Installation
Assessing Your Wall Type and Space
The wall type is critical in assuring the safety and durability of the installation. Common wall types can include:
- Drywall: Typically, it can support a TV without added reinforcement if a stud is used for mounting.
- Brick or Concrete: Requires special tools (like a masonry drill) but provides reliable support.
- Plaster: Older homes may need special anchors to provide secure mounting without risking wall damage.
It is essential to assess not just the wall type but also the surrounding space for clearance, viewing height, and potential obstructions.
Choosing the Right Mount for Your TV Size
Every TV mount has a weight capacity and compatibility with TV sizes. When selecting a mount, consider:
- TV Weight: All mounts will indicate the maximum weight they can support. Exceeding this can lead to catastrophic failures.
- Size Compatibility: Make sure the mount is compatible with the TV size; most manufacturers provide compatibility charts to consult.
Additionally, consider future upgrades, as purchasing a mount that accommodates larger TVs may be more beneficial long-term.
Gathering Necessary Tools and Equipment
If opting for a DIY installation, you will need specific tools:
- Drill
- Level
- Stud Finder
- Measuring Tape
- Socket Wrench
Professional services will come equipped with all necessary tools, so there’s no need for you to invest in costly equipment for a one-time project.
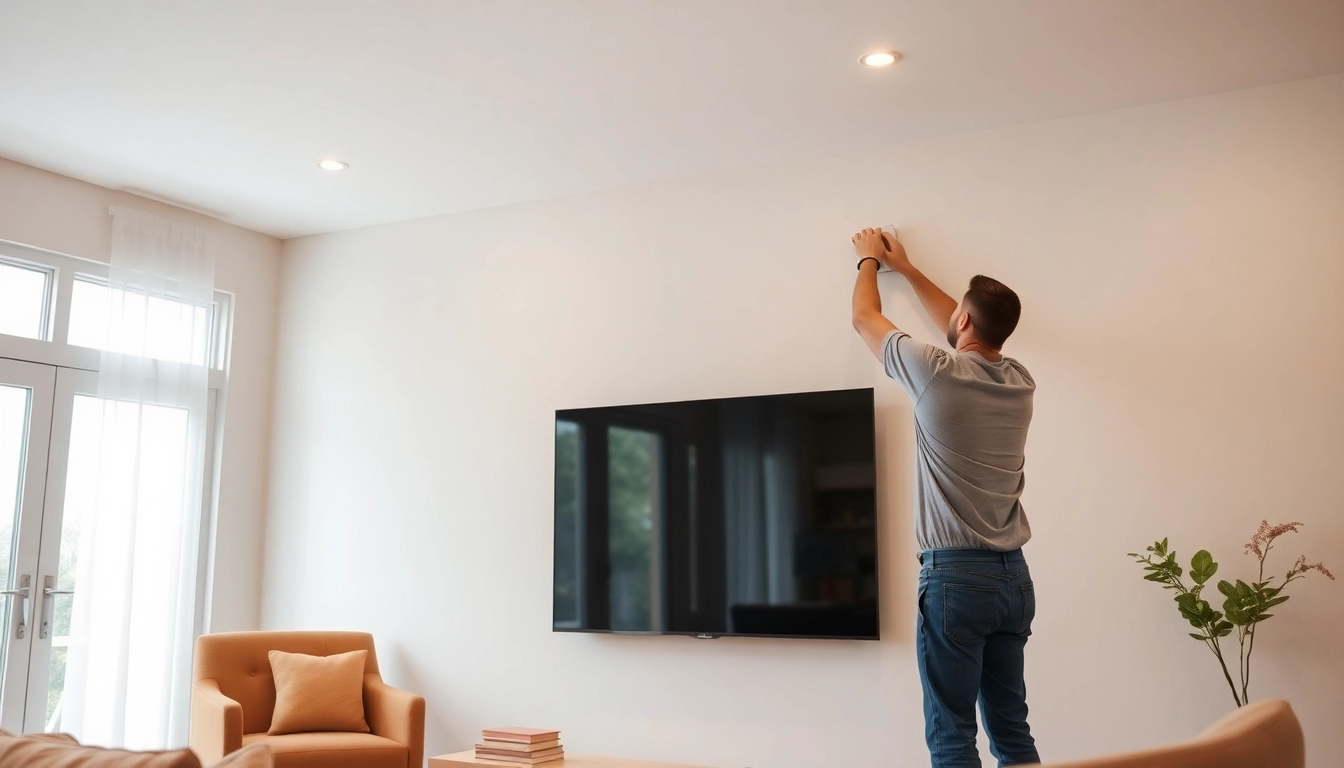
The TV Mounting Installation Process Explained
Step-by-Step Installation Guide
For those considering a DIY installation, follow these steps:
- Determine TV Height: Ideally, the middle of the TV screen should be at eye level when seated.
- Locate Wall Studs: Use a stud finder to find strong points for attaching the mount.
- Mark and Drill Pilot Holes: Mark your mount’s bracket holes and drill pilot holes based on the wall type.
- Secure the Mount: Attach the wall bracket firmly, ensuring it’s level.
- Attach TV Bracket: Secure the provided mounting brackets onto the TV’s back before hoisting it up.
- Lift TV into Place: This is a two-person job; ensure it’s secured entirely according to the manufacturer’s guidelines.
Common Challenges and Solutions
During installation, you may encounter various obstacles such as:
- Poor Wall Structure: If the wall cannot hold the TV, consider reinforcing it before installation.
- Incompatible Mounts: Always double-check compatibility—mounts should never be forced onto a TV.
- Cable Management Issues: Plan ahead for cable routing to avoid a tangled mess after installation.
Ensuring Optimal Viewing Angles and Heights
The quality of your viewing experience can be drastically affected by the TV’s height and angle. Consider the distance from the seating area:
- Distance: Generally, the ideal range is 1.5 to 2.5 times the diagonal size of the TV screen.
- Angle: Ensure there is no neck strain by keeping the screen at a comfortable angle for viewers seated below or above.
Post-Installation Considerations
Checking Stability and Safety
After installation, confirm that the TV is securely attached. Gently shake the TV or tug on it to ensure it doesn’t wobble. This step is critical for safety, particularly in homes with children or pets.
Connecting TV to Cable and Streaming Devices
With the TV mounted, the next step is connecting it to your cable or streaming devices. Consider using:
- HDMI Cables
- Optical Cables for sound systems
- Wireless connections for smart TVs
Ensure your cables are not strained or kinked, which could lead to connection issues.
Hiding Cables for a Clean Look
A tidy installation isn’t just aesthetically pleasing; it also prevents hazards. Options for cable management include:
- Cable Covers: Paintable strips that adhere to the wall.
- In-Wall Management: Professionally run cables inside the wall for an invisible setup.
- Concealers: Use furniture, shelving, or decor to obscure visible wires.
Choosing the Right TV Mounting Installation Service Provider
Evaluating Service Reviews and Ratings
Choosing the right professional can be as crucial as the installation itself. Look for companies with strong reviews and ratings across platforms like Yelp or Google. A mix of positive and negative reviews can provide deeper insights into service quality.
Cost Expectations for TV Mounting Services
Pricing for installation services can vary widely based on several factors:
- TV Size: Larger TVs may incur higher service charges.
- Wall Type: More complex wall structures may demand more equipment and time.
- Additional Features: Services that include cable management or mounting accessories might cost more.
Overall, average costs for professional services can range from $100 to $300, with more specialized installations possibly exceeding this.
Questions to Ask Your Service Provider
Before hiring a company, consider asking:
- What is your experience with TV installation?
- Can you provide references from past customers?
- What warranties or guarantees do you offer?
- Do you charge for travel time or just the installation?
Asking these questions will help you gauge professionalism and ensure you get the best value for your investment.