Understanding Residential Painting Requirements
Types of Residential Painting Services Available
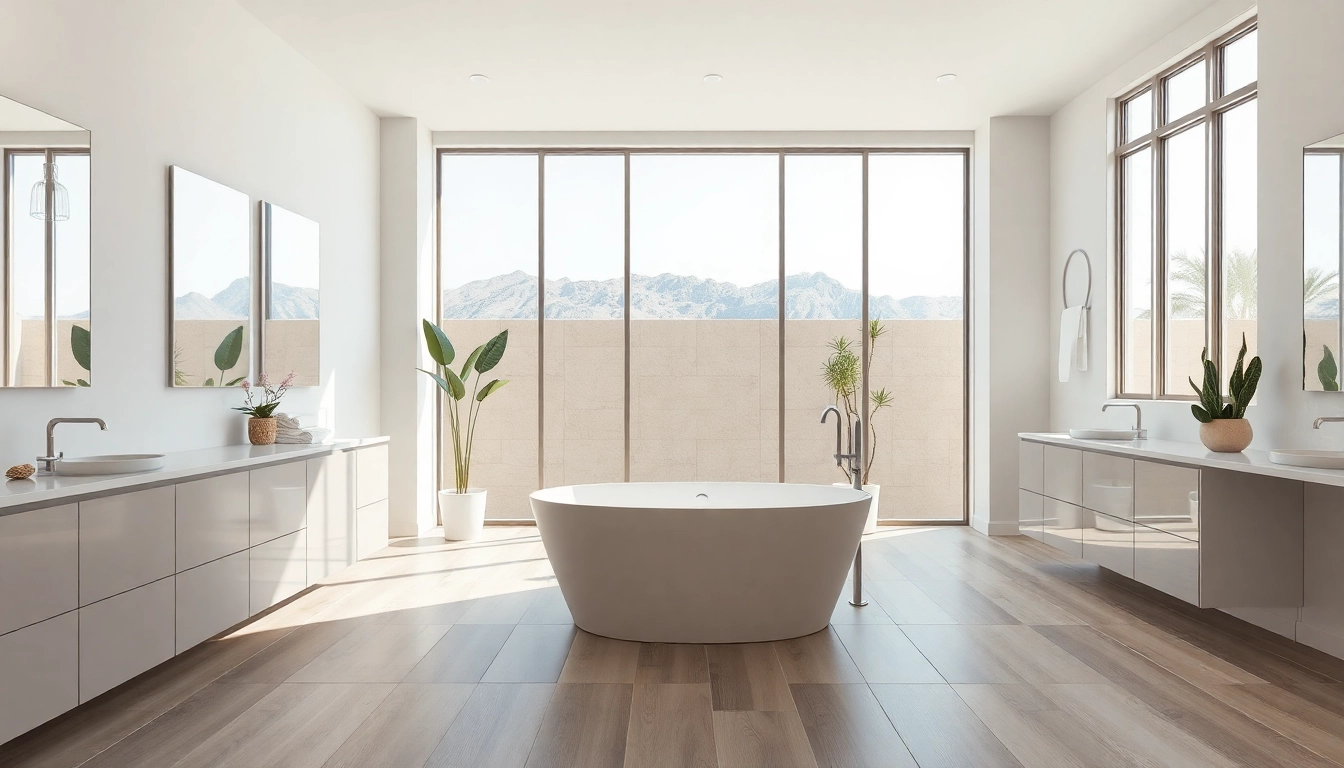
When it comes to enhancing your home’s aesthetic appeal and protecting its surfaces, residential painting plays a pivotal role. There are various types of residential painting services available, each tailored to different areas and needs.
1. Interior Painting: This includes painting walls, ceilings, trim, and interiors of cabinets. It’s ideal for updating your home’s interior spaces, improving ambiance, and adding value to your property.
2. Exterior Painting: This service focuses on the outside of your home, including siding, garages, fences, and doors. It protects from weather damage and enhances curb appeal, making it essential for maintaining the home’s exterior.
3. Cabinet Refinishing: Often overlooked, this service can rejuvenate old cabinets, giving your kitchen or bathroom a fresh and modern look without the expense of a complete remodel.
4. Accent Walls: Adding a splash of color to one wall can create a focal point in your room, allowing you to express your style dynamically. Proper selection of a contrasting or complementary color is crucial.
5. Staining and Sealing: For wooden surfaces, including porches and decks, staining adds beauty while sealing protects the wood from the elements. It also minimizes flaking and peeling, enhancing longevity.
Choosing the Right Colors for Your Home
Color selection can greatly influence the mood and perceived space in your home. When choosing paint colors, consider the following:
- Room Purpose: Soft, calm colors are suitable for bedrooms to promote relaxation. In contrast, vibrant hues can energize areas like the kitchen and living room.
- Light Reflectivity: Lighter colors can make a small room feel larger, while dark colors create warmth but can also make a large space feel cozier.
- Complementary Colors: Utilizing a color wheel can help you find colors that work well together, ensuring a harmonious look throughout your home.
- Sample Testing: Always test paint samples on walls before committing; natural light affects how colors appear throughout the day.
Essential Tools and Materials for Successful Projects
Investing in the right tools and materials will ensure a professional finish for your residential painting projects:
- Paintbrushes and Rollers: Use high-quality brushes and rollers suitable for your paint type for better coverage.
- Drop Cloths: Protect your floors and furniture from spills and splatters.
- Tape: Use painter’s tape to create clean lines around trim, windows, and doors.
- Ladders: Ensure reaching high areas safely without stretching too far.
- Paint Trays: Simplifies the application process and minimizes mess when using rollers.
Preparing Your Home for Residential Painting
Clearance and Protection: Setting Up Your Space
Preparation is key to a successful residential painting project. Start by clearing the area of furniture and decor. If moving large items is not feasible, cover them with drop cloths. Ensure you also:
- Remove Wall Hangings: Take down picture frames, clocks, and other items from the walls.
- Protect Floors: Use drop cloths or old sheets to safeguard your flooring.
- Cover Fixtures: Light fixtures, switches, and outlets should be taped or covered to prevent paint splatters.
Surface Preparation Techniques for Optimal Results
Before painting, the surfaces must be adequately prepared to ensure optimal adherence and finish. This includes:
- Cleaning: Wipe down walls with soap and water to remove dirt and grease.
- Repairing Holes and Cracks: Use spackle for small holes and caulk for gaps around windows and doors.
- Sanding: Sand glossy surfaces lightly to ensure paint adheres well.
- Priming: For new drywall or when switching colors drastically, a primer will help the paint cover better and improve durability.
Choosing the Right Time for Residential Painting
The timing of your painting project can significantly impact the results. Here are factors to consider:
- Weather Conditions: For exterior projects, choose a dry season with mild temperatures. Excess humidity or cold can impair drying and finish.
- Time of Day: For interior work, natural light can help spot imperfections, so it’s ideal to start during the daytime.
- Personal Schedule: Select a time when you can manage the disruption of your space effectively. Consider weekends or holidays to minimize inconvenience.
Hiring Professionals vs. DIY for Residential Painting
Benefits of Professional Residential Painting Services
While taking on a residential painting project as a DIY task can be tempting, hiring professionals offers notable advantages:
- Expertise: Professionals possess the skills and experience to manage challenges effectively, ensuring a quality outcome.
- Time Efficiency: Experienced painters can complete tasks quickly and efficiently, saving you time.
- Quality Materials: Professional painters have access to higher quality paints and tools that can enhance the durability of the paint job.
- Insurance and Warranty: Hiring professionals often includes liability and worker’s comp insurance, providing you peace of mind. Plus, many services offer warranties on their work.
Cost Considerations for DIY Projects
Deciding to paint your home yourself involves several cost considerations:
- Materials Cost: Calculate the overall expense for paint, brushes, rollers, and additional tools.
- Time Commitment: Assess how many days you can dedicate to the project without affecting your regular responsibilities.
- Cost of Mistakes: Consider the potential for errors, which may lead to additional expenses for repairs or repainting.
How to Select the Right Painter for Your Needs
If you decide to hire a professional, selecting the right painter is crucial:
- Research Local Painters: Gather a list of potential painters and review their websites and customer testimonials.
- Check Credentials: Ensure they are licensed and insured, and ask for examples of their previous work.
- Ask for Quotes: Request a detailed estimate that breaks down the cost, including labor, materials, and timeline.
- Communication: Choose someone who communicates clearly and answers all your questions satisfactorily.
Executing a Flawless Residential Painting Process
Step-by-Step Guide to Painting a Room
To achieve the best results when painting a room, follow this step-by-step guide:
- Preparation: Clear the room of furniture and cover floors with drop cloths.
- Clean and Repair Surfaces: Wipe walls and fix any imperfections.
- Apply Primer: If necessary, apply primer for better paint coverage.
- Cutting In: Using a paintbrush, paint edges along walls, ceilings, and trim to create clean lines.
- Rolling Paint: Use a roller to apply paint to larger wall areas, working from ceiling to floor.
- Second Coat: After the first coat dries, assess the need for a second coat and apply if necessary.
- Final Touches: Remove tape, touch up any missed spots, and reattach fixtures.
Common Mistakes and How to Avoid Them
Even seasoned painters make mistakes. Here are common pitfalls to avoid:
- Skipping Primer: Not using primer often leads to uneven color and adhesion problems.
- Using Cheap Tools: Investing in quality brushes and rollers can significantly improve the finish.
- Pushing Paint Too Hard: Applying too much paint at once can lead to drips and uneven coverage. A light touch and multiple coats are key.
- Ignoring Drying Times: Respect the recommended drying times between coats to ensure an even finish.
Final Touches for a Polished Appearance
The finishing touches make a significant difference in how your paint job is perceived:
- Touch-Ups: Inspect the room for any areas requiring additional paint after the initial application.
- Clean Up: Remove painter’s tape carefully to avoid peeling off dried paint. Clean brushes and rollers for future use.
- Decorate Thoughtfully: Once paint is fully dry, replace furniture and decor, and consider new enhancements that complement your fresh color scheme.
Maintaining Your Residential Paint Job
Cleaning Techniques for Different Paint Types
A well-maintained paint job can last for many years. Use the following cleaning methods based on your paint type:
- Washable Paints: For satin or semi-gloss finishes, a damp cloth with mild soap is usually sufficient.
- Matte Paints: Be cautious, as scrubbing can damage the finish. Try using a soft cloth and gentle circular motions.
- Glossy Finishes: Clean with a damp sponge and mild detergent for shine without damaging the finish.
Understanding When to Repaint
Knowing when it’s time to repaint is essential for maintaining your home’s appearance:
- Peeling or Chipping Paint: If the paint shows signs of peeling or chipping, it’s time to repaint.
- Fading Color: Prolonged sun exposure can fade paint, signaling a need for refreshment.
- Change in Style: Sometimes, it’s about aesthetics; if you want a new look, don’t hesitate to repaint.
- Repair Needs: If extensive repairs are needed to walls or surfaces, it may be more economical to repaint afterward.
Enhancing Longevity of Your Residential Painting
To extend the life of your paint job, consider these tips:
- Regular Maintenance: Clean the surfaces regularly to prevent dirt buildup and discoloration.
- Address Moisture Issues: Control humidity and ensure proper ventilation to prevent mold and mildew.
- Use Quality Materials: Invest in high-quality paints and primers tailored to your living environment and climate conditions.
- Schedule Routine Inspections: Regularly check for signs of wear and address any issues promptly to avoid larger repair needs.